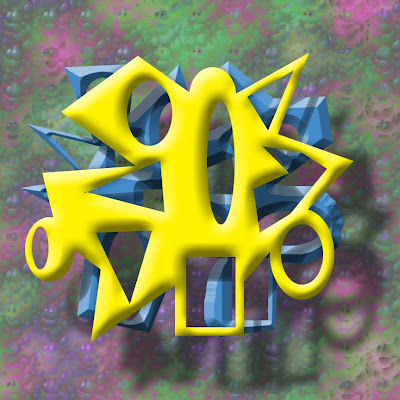
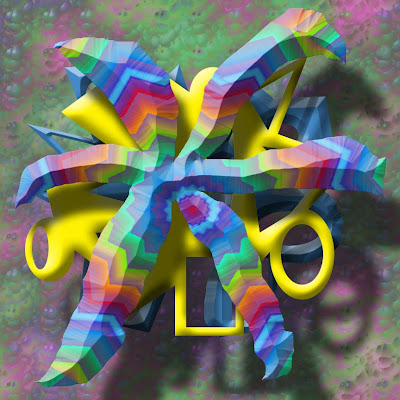
 The first one is just the two layers which are actually 5 layers: Top object, Shadow, Next object, Shadow and background. Ok, so there are six layers because I always do a new layer and don't use the actual background. LOL
 This one was accomplished simply adding another object layer and shadow layer.
To do this:
Open a New Document and make it 12 inches by 12 inches at 72 pixels per inch and with RGB color. Select your colors in the lower left corner,Using the layers tab on the right of your workspace, select "New Layer." "Edit>Fill" this layer with the pattern/colors of your choice. If you choose pattern, you can use "Filter>Render>Difference Clouds" as many times as you like to get the color mixture you like. Now that you have your back ground, you want to create a new layer from your layer palette. While on this layer, make a selection using either the polygonal, square/rectangular, or ellipse tool or a combination of them all by holding down the "Shift" or "Alt" key.
In order to put holes in your selection, hold down the "Alt" key while using one of the marquee tools previously mentioned and draw holes in the project. You can and should change your selction shape during this time. Also, you can add to your selection by holding down the "Shift" key and using the selection tools specified.
Once you have your selection, choose "Select>Save Selection." You may either name your selction or the program will auto default to Alpha followed by a number where your first saved selection is "alpha 1", second is "alpha 2" and so on.
Once you have saved your selection (and you should always do this FIRST!), Choose "Edit>Fill" and use color or pattern. I generally use color by choosing a new foreground color and then filling with "Foreground" color. You may then use the "fx" key (Below the layer palette on the right side of your workspace) to "Bevel and Emboss." Once the "Bevel and Emboss" window opens, Choose your bevel type (You should generally choose "Inner Bevel"), size, and depth and then adjust the BOTTOM slider that is the shadow on the bottom edge of the object to lighten it. Select "Ok" and the window will close.
Choose "Select>Deselect," (Are you absolutely certain you saved your selection???). Now, Choose "New Layer," and do it all over again. Do it as many times you want layers. THEN...
Drop to the lowest layer which should be your background, add a "New Layer." (Make sure nothing is selected first). Hold down your "Shift" key and go "Select>Load Selection>Alpha 1." Still holding down your shift key, go back to "Select>Load Selection>Alpha 2" and so on all while holding down your shift key until you have selected all of your shapes.
Once you have the final selection area, go to "Edit>Fill>Black." "Select>All" and then choose "Filter>Blur>Gaussian Blur" and set your number to something like 8.5. Using the "Opacity" slider on the TOP of the layer palette, slide it down to like 40-48%. "Select>Deselect." Using the "Move tool" Pull this shadow layer down and to the right a good way.
Click on "Layer 2" or the layer the next object is on and add a new layer. On this layer, you want to add all selections BESIDES "Alpha 1." Do NOT add "Alpha one." Go ahead and use the steps above to select all other objects. Once you have the final selection area, follow the instructions above to get the appropriate shadow. This one should be blurred to about 8. And the opacity should be marginally darker than the first one. So if you went to 48% on the first one, go about 50-52% on this one. Once you have this shadow complete, pull it down and to the right but not as far as the first one!
NOW, "Select>Deselect" and then "Select?Load Selection>Alpha 1." Then choose "Select>Inverse." Tap the "Delete" key. This deletes extraneous shadow from the layer. "Select>Deselct."
Move on to the next object layer and follow the above instructions except this time you will leave off the bottom TWO object selections, i.e. "Alpha 1" and "alpha 2."
This time when you "Select>Load selection in order to use the inverse and delete extraneous shadow, you will hold down the shift key and select both "Alpha 1" and "Alpha 2." Then do the "Select>Inverse" and tap the delete key. Follow these instructions till you have down the last objects shadow on the second layer to the top and Voila! there you have it!
If you have any questions feel free to comment me! Have a blessed day!

0 comments:
Post a Comment